Hubspot Meeting : a Complete Guide
Leverage your Interview Data
AI interview notes, scorecard, follow-up, ATS integration, and more...
.svg)
.svg)
HubSpot’s meeting tools help you automate scheduling, eliminate the back-and-forth, and sync everything directly to your calendar and CRM.
But how does it really wok and how to set it up ?
In this article, we’ll cover what HubSpot Meetings tools are and how they work.
What is HubSpot Meetings tool?
At its core, HubSpot Meetings is a scheduling and calendar-booking tool built into the broader HubSpot CRM ecosystem. It lets you share a booking link, sync your real-time availability from Google Calendar or Office 365, and allow contacts to pick a time that works—no more email ping-pong.
This tool helps you stop the scheduling friction and streamline how you book, manage and track your meetings.
How to Set Up and Use HubSpot Meetings
If you’re ready to stop juggling calendar invites and email threads, here’s how you can set up HubSpot Meetings and get it working for your workflow — with step-by-step guidance and practical tips you'll actually use.
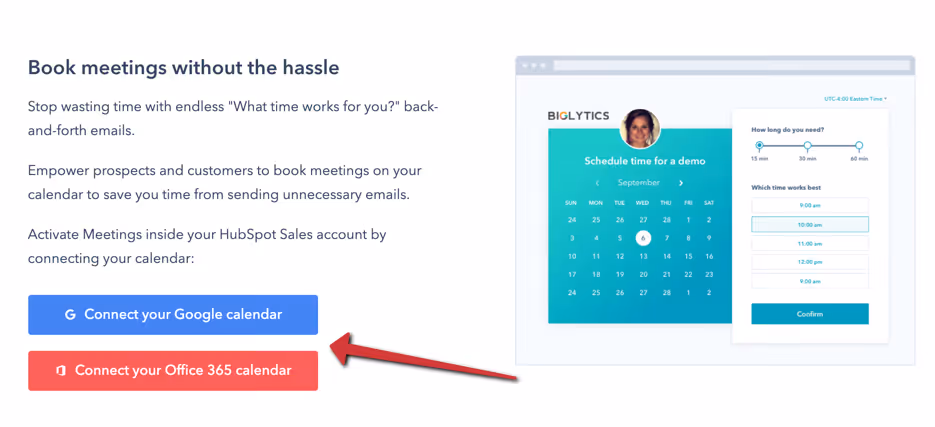
Step 1: Connect your calendar
First, you’ll want to link HubSpot with your existing calendar so availability is accurate and bookings sync automatically. Navigate to Settings → General → Calendar and choose Google/Gmail or Office 365.
Make sure you approve the permissions so HubSpot can view your free/busy time. If your calendar isn’t connected, your scheduling link will still work — but bookings won’t sync automatically, which could create extra manual work.
Step 2: Create your scheduling page (meeting link)
Once your calendar is connected, go to Sales → Meetings Scheduler and click “Create scheduling page.”
You’ll choose a meeting type:
- One-on-one – for scheduling with just you.
- Group – several people attend at once.
- Round robin – automatically distribute bookings across team members.
Then move on to customise the page:
- Give it an internal name (for your team’s use).
- Set the event title (what your guest sees).
- Define the location (video link, phone, or in-person venue).
- For video-meetings, if you’ve connected Zoom/Teams/Google Meet you can embed the link automatically.
Step 3: Define availability, form fields, and scheduling rules
On the Scheduling tab you set when people can book with you. Choose your time zone, the days/hours you’re available, and whether you allow bookings over multiple durations. You can also set minimum notice (e.g., bookings must be at least 12 hours ahead) and buffer times between meetings so you don’t end up back-to-back.
On the Form tab you decide what you ask your guest when they schedule: default fields (Name, Email) or custom questions for your workflow (job title, company, reason for meeting).
Step 4: Share your link and embed where appropriate
Once everything is configured, copy the link from Sales → Meetings Scheduler → Copy link and share it in your email signature, website, or CRM-emails.
If you want deeper integration you can embed the scheduling page on your website or add UTM tracking parameters to monitor how people are booking meetings.
Step 5: Use and manage your scheduled meetings
Now, when a contact clicks your link, they’ll see your available slots (based on your calendar sync and scheduling rules). Once they select a time and fill in the form, the booking is made:
- A calendar invite (for you and them) is generated automatically.
- The meeting is logged in HubSpot under the contact’s record — which means you automatically get context for follow-up, task creation and tracking.
- You can review bookings in your Meetings Dashboard under Sales → Meetings Scheduler to see upcoming links, booking activity and manage settings.
HubSpot Meetings Troubleshoot
Even when you’ve followed the setup steps, you may find yourself running into issues with HubSpot Meetings. Below, I walk you through the common problems you might face, how they tend to happen, and what you can do to fix them — so you can get your meeting-scheduling workflow back on track.
🔍 Common problems & causes
- Meeting link not working / booking fails
Many users report that when they send out a Meetings link, the recipient sees available slots but cannot book, or the booking doesn’t sync to the calendar. One thread notes:
“Meeting tool doesn’t work” when the calendar isn’t properly connected or the user’s seat/license changed.
Possible causes: the calendar connection was revoked, the user lost their paid Sales/Service seat, or browser issues (cache/cookies).
- Double bookings or availability conflicts
If you’re seeing two meetings booked for the same slot, or customers book when you’re already busy, the cause often lies in mis-configured availability or calendar access. A post on booking issues mentions “unexpected bookings” because availability settings and calendar sync didn’t match. - Timezone problems / calendar mismatch
Your contacts might book at odd times because of timezone mismatches or because your calendar shows free time incorrectly. One article highlights this as a “time zone confusion” issue when using meeting links. - Feature or page limitations due to license
Some users discover that features like round-robin meeting pages or custom meeting types don’t appear unless the correct paid seat is assigned. Example:
“Even to create a round robin meeting page, a paid seat is required.”
In short: you might believe you set everything up, but the plan you’re on doesn’t permit certain functionality.
🧰 Practical troubleshooting steps for you
- Check calendar connection first
Go to Settings → Calendar in HubSpot and verify your Google/Office 365 account is connected, that free/busy access is granted, and it’s showing correct free slots. If not, reconnect it. - Verify your HubSpot user license
Make sure your profile still has the required Sales Hub or Service Hub seat if you use advanced features (like round-robin). A missing paid seat often causes the tool to stop working properly. - Review your scheduling page settings
Confirm your availability, buffer times, and minimum notice settings. If you’re allowing too many open slots, or you’re not blocking off busy times in your calendar, issues will arise. - Test the link in incognito or another browser
Sometimes browser caching or local cookies prevent the link from behaving properly. Clearing cache or testing in a different browser gives insight. - Check time-zone and invite logic
Make sure your scheduling page is set to your time zone (and consider how the attendee’s zone appears). Also confirm your main calendar is set to correct zone so free/busy times align. - Monitor booking results & analytics
After bookings happen, go back and verify the meeting appears in your calendar, in HubSpot’s contact timeline, and with correct details. If something is missing, trace back to which step failed (calendar sync vs page logic vs license).
HubSpot Meeting AI Notes: Noota
If you’re using HubSpot Meetings to schedule and manage your meetings but find yourself still bogged down by manual note-taking, then integrating Noota could be a game-changer for your workflow.
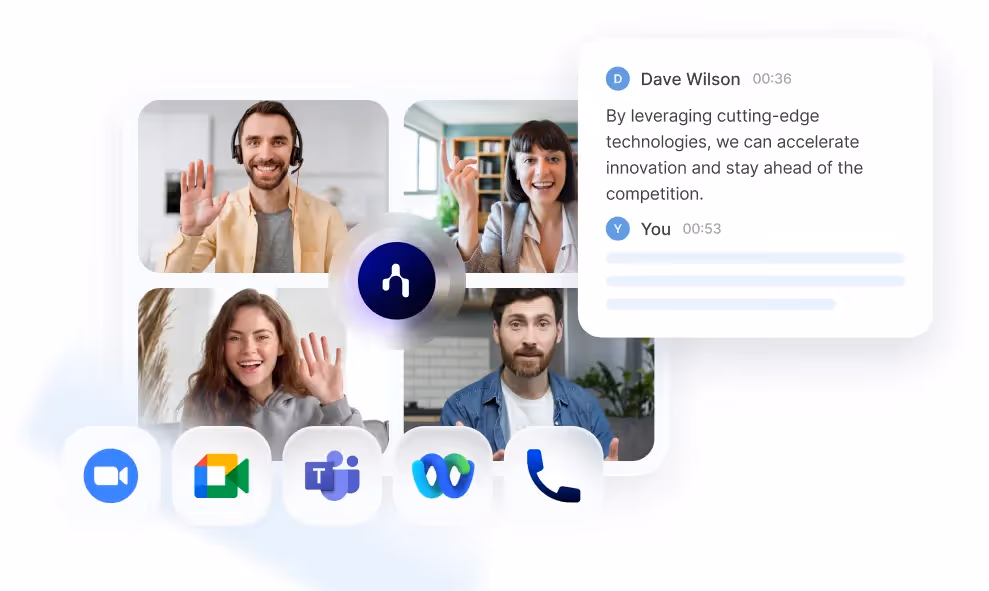
- Noota automatically records, transcribes and summarises your meetings (video, audio, phone calls) and then exports the summary or note into HubSpot contact, company or deal records.
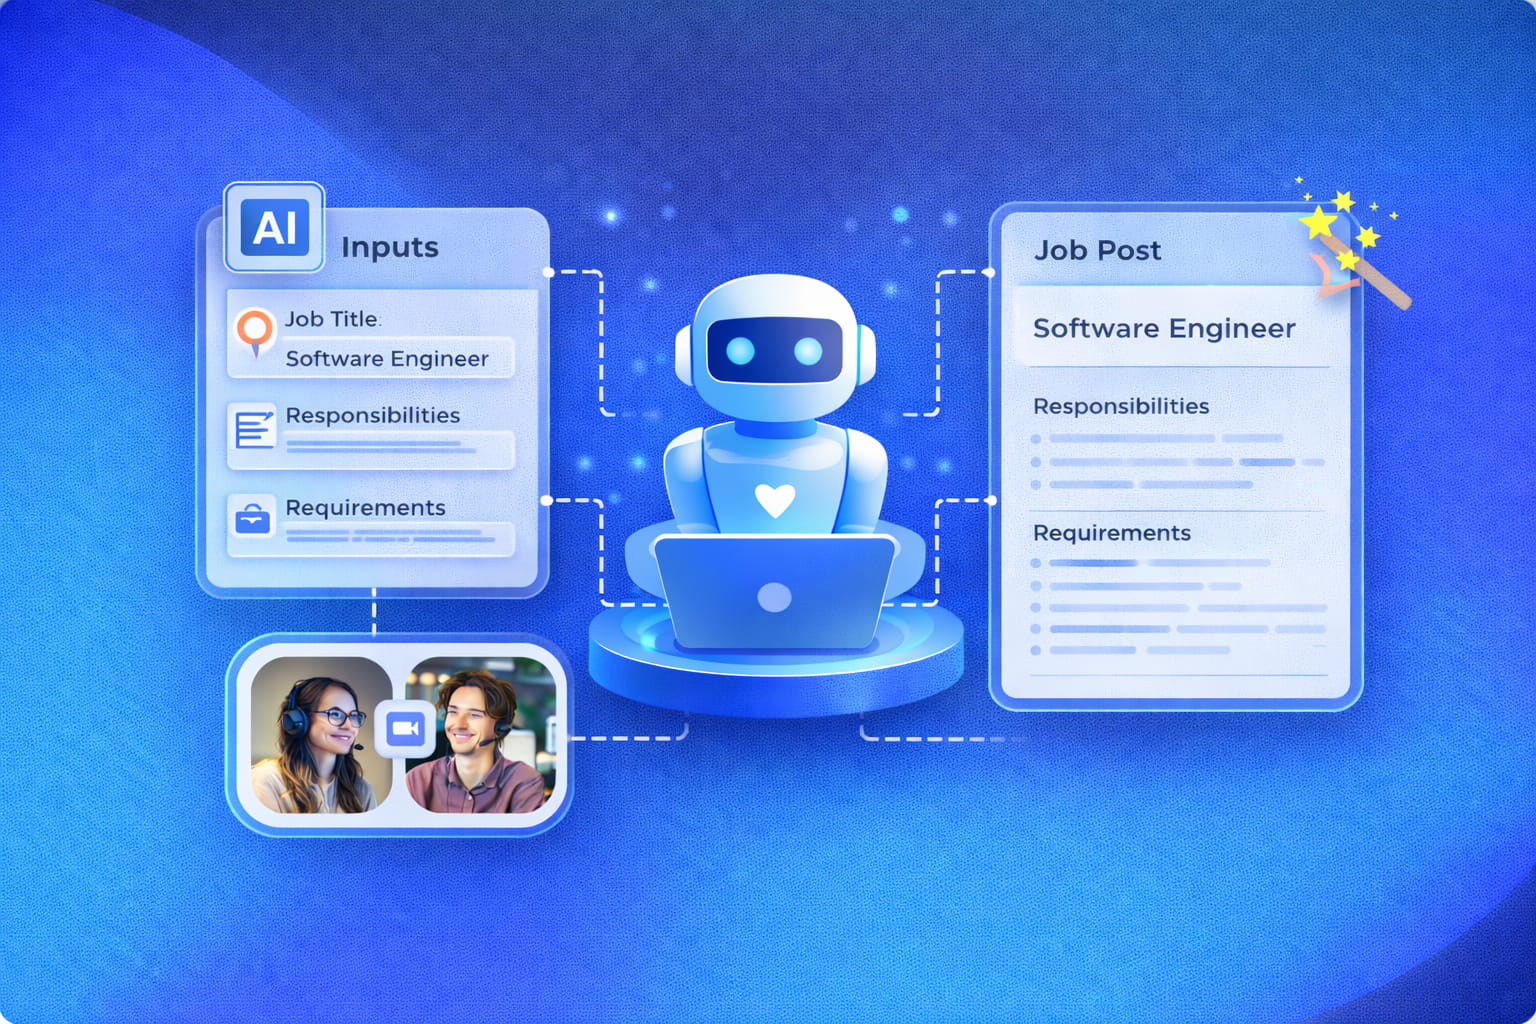
- It supports integrations with HubSpot CRM, enabling you to push structured meeting summaries—and even action items—directly into your HubSpot workflows.
- Noota handles multiple meeting sources (Zoom, Google Meet, Teams, in-person) and multiple languages, so it works with hybrid and global teams just like yours.
TRY NOOTA FOR FREE NOW
Leverage your Interview Data
AI interview notes, scorecard, follow-up, ATS integration, and more...

Jean-marc is an AI expert helping recruiters & professionnals leverage these tools in their everyday work.
Related articles
.webp)
.png)


Forget note-taking and
try Noota now
FAQ
In the first case, you can directly activate recording as soon as you join a videoconference.
In the second case, you can add a bot to your videoconference, which will record everything.
Noota also enables you to translate your files into over 30 languages.
.svg)